The Best Baked Oatmeal EVER

As I was settling down last night, feeling proud of my Ziplisted breakfast plan, I decided to take one more look at the recipe I was going to use to mentally prepare myself for the morning.

The first line of the instructions for the Baked Oatmeal with Strawberries, Bananas, and Chocolate was, “spray the inside of a 10-1/2 by 7 inch baking dish with cooking spray and place on a baking . . . ”

10 1/2 x 7?

If it’s not 9 x 13, it’s not in my kitchen. Ugh. I had to adjust.

So this morning, I switched recipes, combining the one I was planning on using with another one, and adding my own twist. The result is this:

Best EVER Baked Oatmeal with Strawberries, Bananas, and Chocolate

  • 3 Cups rolled oats
  • 1 Cup brown sugar
  • 2 tsp ground cinnamon
  • 2 tsp baking powder
  • 1 tsp salt
  • 1 Cup milk
  • 2 eggs
  • 2 tsp vanilla extract
  • 1/2 cup melted butter
  • 2/3 cup semisweet chocolate chips
  • 1 pint strawberries, sliced
  • 2 small bananas, sliced

Preheat oven to 375. Spray 9 x 13 baking dish with non-stick spray. In large bowl, mix dry ingredients (oats, sugar, cinnamon, baking powder, salt) together. In a separate bowl, mix milk, eggs, vanilla, and butter. Blend milk mixture into dry mixture. Stir in chocolate chips. Spread into 9 x 13 dish. Top with sliced bananas and strawberries.

Bake uncovered for 30-35 minutes, or until golden brown around the edges. (Serves 8)

I must admit, the last-minute change in recipe scared me a bit. I didn’t even have chance to read the recipe reviews for one of the recipes that went into this one.

I shouldn’t have worried.

It. Was. Awesome.

I had expected the texture to be like a big bowl of oatmeal, but it was more like a bowl of soft and warm granola.With melted chocolate.  So yummy! Ken thinks it would be awesome with ice cream over it. I think it’s perfect just the way it is!

Advertisement

Ziplisting

I wasn’t breathing well enough to do a whole lot of “think work” during the past week, but prior to that I was working on my latest meal-planning venture: Ziplist.

It may seem sacrilegious to even mention another meal planning tool besides E-mealz. I have loved E-mealz for years. It has revolutionized and simplified the way I plan meals and shop. So simple. Good recipes.

But sometimes, I get to the point where I want to choose my own food.

This is one of those times.

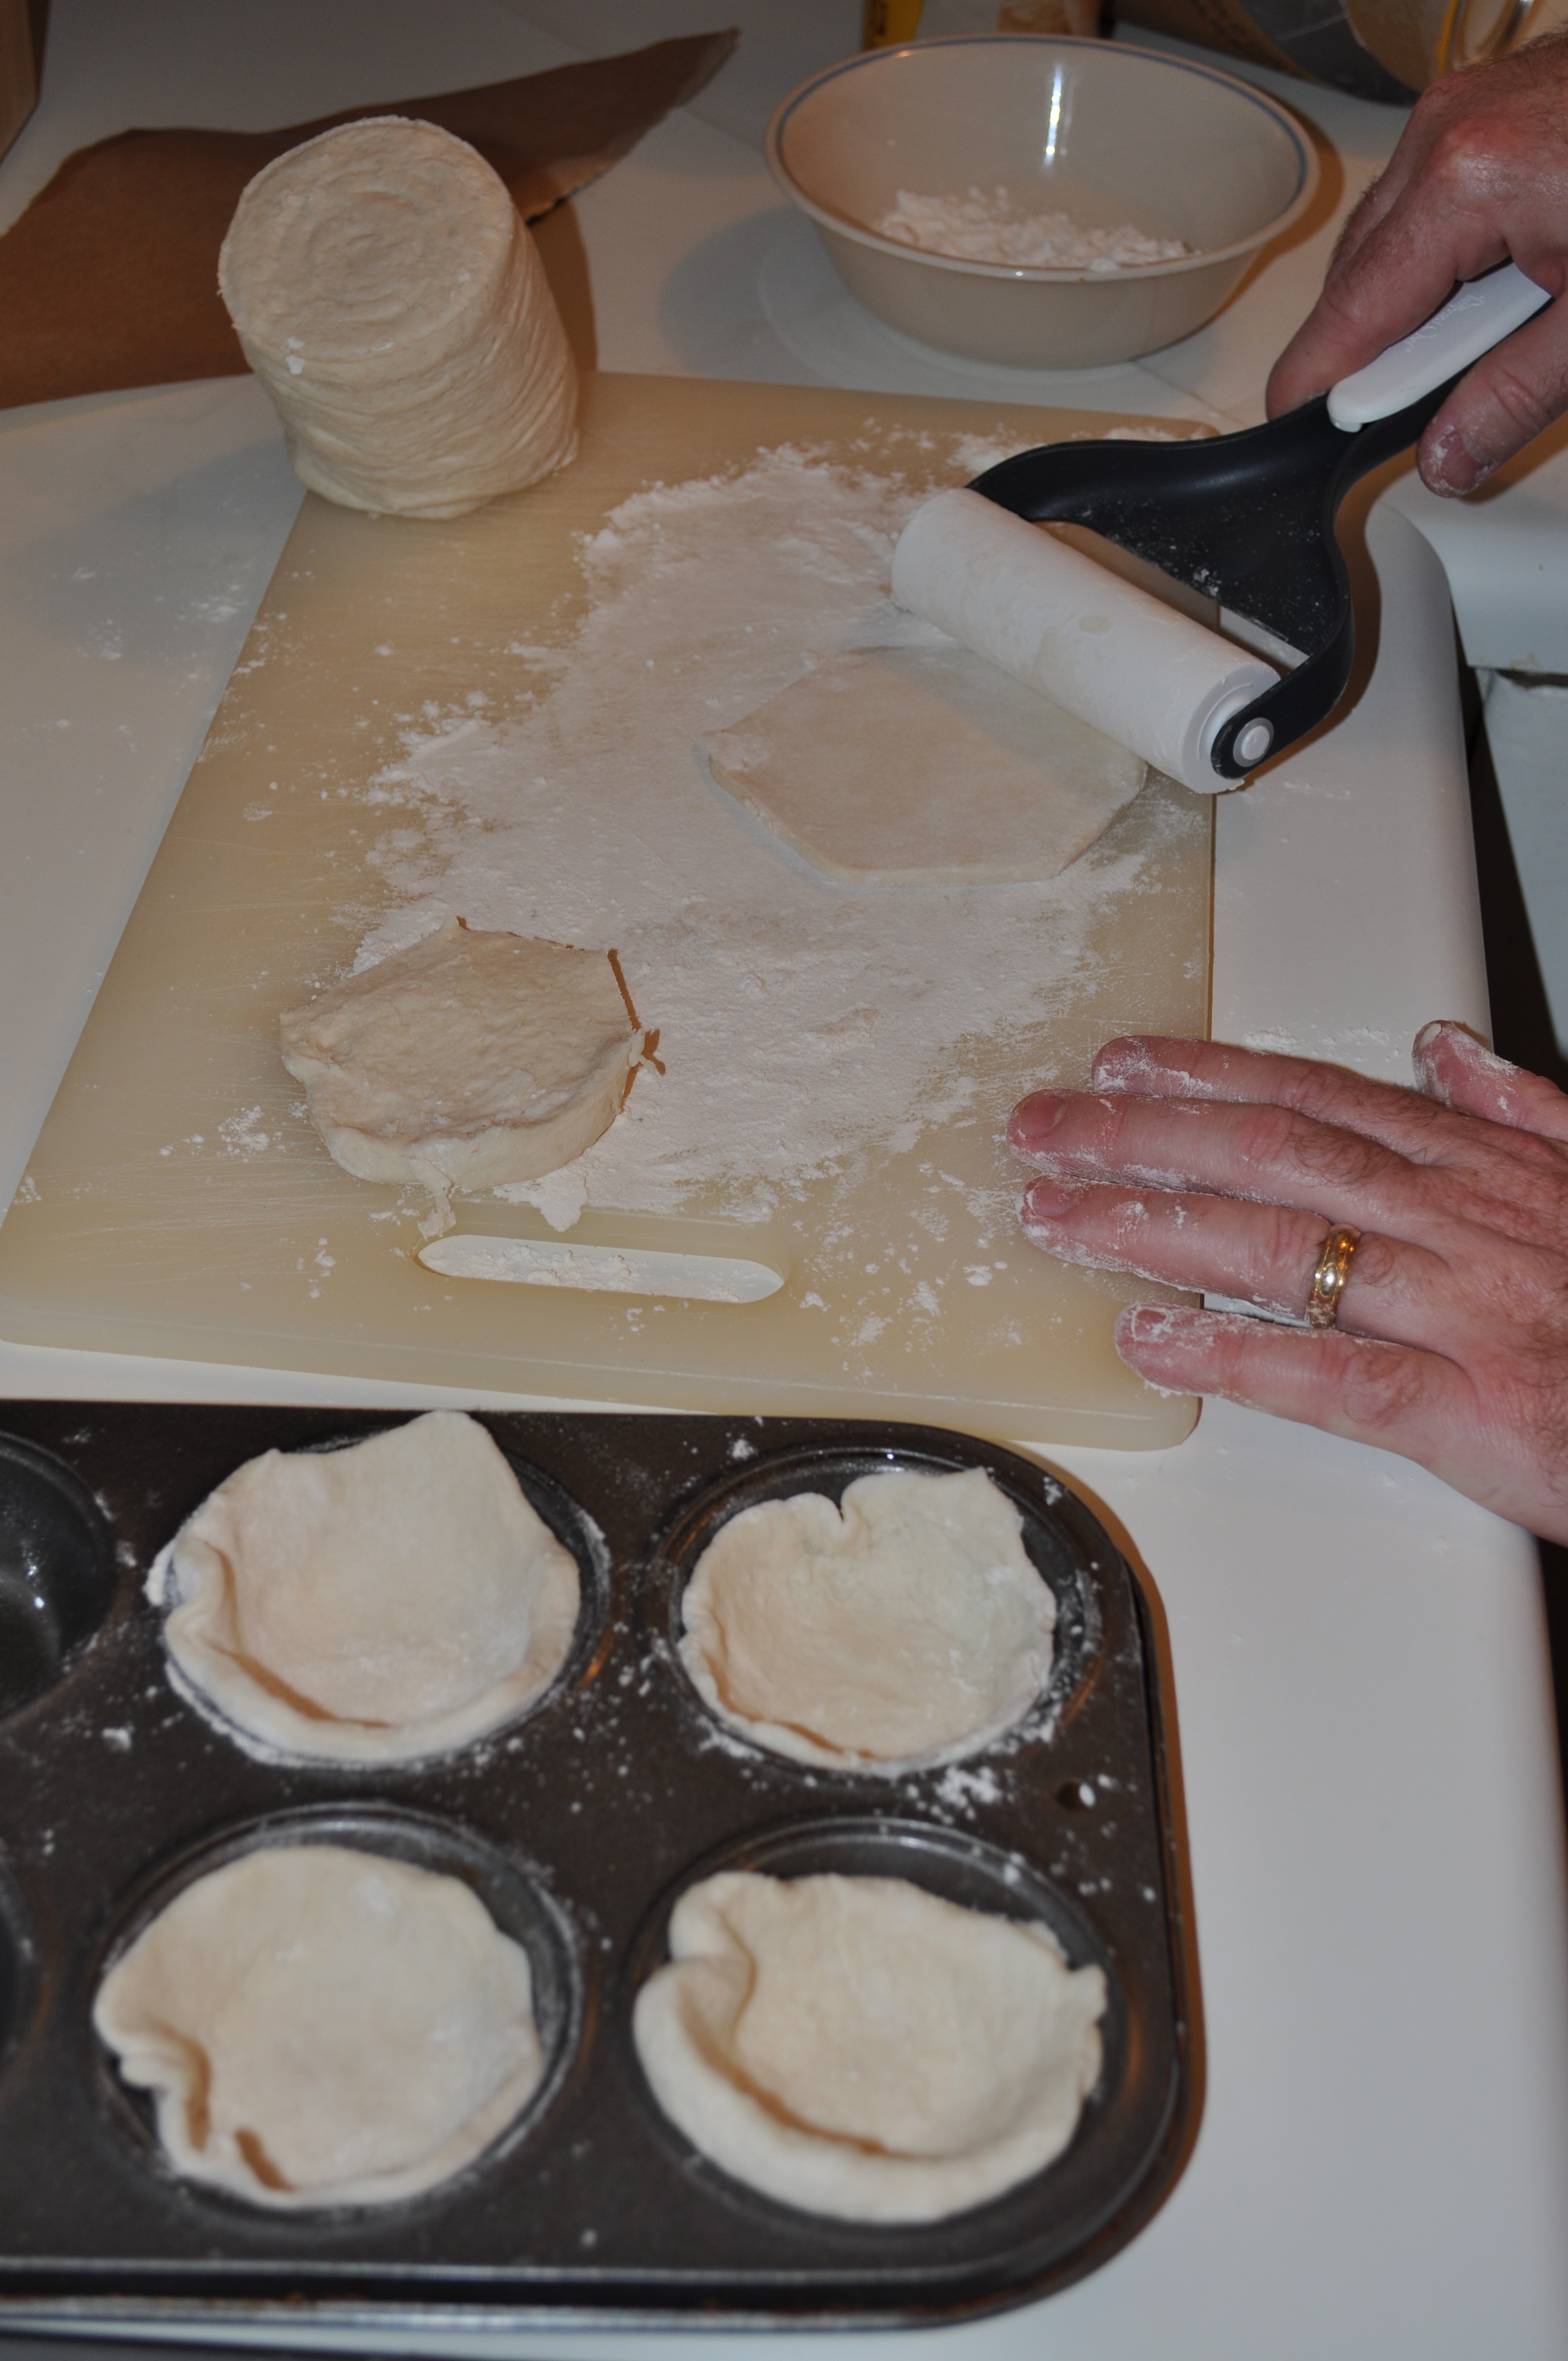
It’s not like meal planning is really hard. But my problem has always been getting from seeing something I like online (like on Pinterest), saving the recipe, recording what I need to buy, buying it, printing out the recipe, and then making it. Well, let’s just say, sometimes it’s just easier to put a frozen pizza in the oven.

I’ve found the Ziplist makes those steps a little easier. Ziplist is a website that helps organize recipes, create grocery lists from those recipes, and then can send your grocery list to a mobile app that can carry your list to the store (even on an Ipod Touch without WiFi). You can even share it with someone else’s mobile device (Ken’s) and sort by grocery store, if you shop at more than one. That way someone else could hypothetically pick up items at the grocery store if he were hypothetically closer to say, Aldi, than me. Hypothetically.

It takes a little bit of effort to set up well, but I pushed through the “just put a frozen pizza in the oven” phase and came up with what I think is a pretty interesting list of recipes. I’ve got 45 at this point, although with Pinterest around, I’m sure it will continue to grow.

I sorted the recipes into categories: Mexican, Asian, Italian, Comfort Food, Side Dish, Quick, Crock Pot, Sunday School, etc. Sometimes recipes would fall into more than one category (like a Mexican Crock Pot recipe) so I could put the recipes in more than one category.

I can then select to put that recipe on my shopping list, and it creates a list of ingredients from the recipe. I have to edit through this, because sometimes their robots don’t read my recipes very well, and sometimes I have most of what I need for the recipe on hand already. But it hasn’t missed a single ingredient yet, and sure makes it a whole lot easier to create a list!

As I decide on a week’s worth of recipes and edit what I need, it automatically syncs to a mobile app on my Ipod Touch where I can see my grocery list.

I’m already excited about this week’s recipes. It’s a sort of dinner-around-the-world and back home again list.

  • Sausage, Spinach, and Provolone Pizza
  • Jamaican Pumpkin Soup (Crock Pot)
  • Quick Mu Shu Pork Tacos
  • Buffalo Chicken Mac and Blue Cheese
  • Mexican Salad
  • Baked Oatmeal with Strawberries, Bananas, and Chocolate Chips (for Sunday School tomorrow)

Now that my shopping is done, it’s back to translating it into the kitchen. I hate putting my laptop in the kitchen, and I don’t want to kill trees to print the recipes. Ziplist helps again with the mobile app on my Ipod Touch, where I can bring my recipes up as I cook.

This is my first week trying it, but the shopping trip was great, and I’m pumped about the recipes! I’m still learning about all of the features of Ziplist, but so far, I’m loving it!  

**I think I’m mostly out of the woods from the pneumonia, and hopefully the peritonsillar abscess. Gearing up for the semester over the next couple of days while finishing up all my medicine will be the real test. I’ve had pneumonia before, but this was definitely the worst and the fastest moving. And having Ken gone for a conference was hard. Thankfully, we have some very kind neighbors who lent a hand with the dogs this week. Lets’ hope I’m over this sickness stuff!

Brown Bag Popcornomania!

I’ve always loved popcorn, although popcorn hasn’t always loved me. When I was diagnosed with a corn allergy in 2007, it was a very sad day for me. Fortunately, avoidance helped me overcome the allergy, and now I’m free to eat it again!

We were browsing through Target shortly before Christmas, and saw all the interesting popcorn flavorings they had like white cheddar, cinnamon and sugar, kettle corn, sea salt and vinegar, and buffalo wing, all of which sounded delicious to Ken and I.

Our new favorite snack is flavored popcorn from the microwave. But rather than buying microwave popcorn, we’ve found a cheaper and better-tasting way to do it:

Brown Bag Microwave Popcorn!

You’ll need:

  • 1/4 cup popcorn
  • 2 tsp olive oil (Most of it ends up on the bag, but it does help the kernels to pop more easily. Skip it if you want.)
  • Brown lunch bag

Put 1/4 cup of popcorn kernels in the brown bag. Drizzle olive oil over the top of the corn. Fold the top over twice, and staple shut. (Yes, you can put a staple in the microwave, and my microwave has not exploded.) Shake bag to distribute oil.

Microwave until there are several seconds between pops. (My microwave took 1 1/2 minutes.)

Sprinkle with your favorite seasoning and enjoy! (Serves one generous serving.) My favorite seasoning is the white cheddar, and Ken loves the kettle corn and sea salt and vinegar — but not together.

Another easy recipe we’ve tried in the past and loved is:

Chocolate Peanut Butter Popcorn

Instead of sprinkling popcorn with seasoning, use the following:

  • 1 cup chocolate chips
  • 1/2 cup peanut butter
  • 1/4 cup margarine or butter

Melt together in a double boiler. Pour over 1/2 cup popcorn, popped (double the amount in the recipe above or use a bag of microwave popcorn) and quickly stir to mix.If desired, refrigerate for 15 minutes, and sprinkle with powdered sugar.

It’s delicious and addictive!  Store in a tightly sealed container . . . if you have any left, that is.

Peach Salsa Perfection

My favorite Christmas gift this year was a Cuisinart food processor that Ken snagged in an impressive 75% off Black Friday doorbuster online with free shipping and a cash back deal. (I was so proud!) I’ve wanted a food processor for years, but it’s one of those things that I’d never buy for myself. That’s why God gave me Ken. 🙂

The biggest dilemma has been what to make first!

We decided to start with salsa. I like spicy foods. Ken, well, not so much. So our first salsa-making endeavor was a mild peach salsa. It was awesome!

Mild Peach Salsa

  • 3 cans sliced peaches, drained (Of course you can use fresh, but I couldn’t find any in December!)
  • 2 large tomatoes, quartered
  • 1 Cup cilantro leaves
  • 1/2 medium-sized onion
  • 2 Tbs minced garlic
  • 2 tsp lime juice
  • 2   4 oz cans diced green chiles
  • 4 tsp cider vinegar
  • 1/2 tsp cracked black pepper

Combine peaches, tomatoes, cilantro, onion and garlic in food processor until coarsely chopped. Add remaining ingredients, and pulse until blended. Chill before serving to allow flavors to mix. Serve with pork, chicken, or tortilla chips.

Ridiculously good! And good for you!

Christmas Fa La La La La Fondue

The tradition of having fondue at Christmas is one we’ve held since we were dating. Ken grew up having fondue at Christmas Eve (allegedly to keep him busy so he would stay out of the presents), and we’ve kept the tradition, but now moved it to Christmas day.

We’ve done all kinds of fondue: cheese, broth, hot oil, and chocolate. Some years we’ve done a day-long progression of three, similar to the Melting Pot. That usually proves to be a little much, even if spread over 12 hours.

More recently, we’ve just done a cheese fondue course for Christmas dinner. Most cheese fondue recipes call for alcohol to be used, but since we don’t drink alcohol at all, I’m always scurrying to find a recipe that leaves it out.

Thus, I’m posting my recipe here, where I know I can find it. You’re welcome to give it a try!

Cheese Fondue

  • 16 oz grated cheese. (Buy a block and grate it yourself, as preshredded cheese makes the texture turn out funny. We’ve tried gruyere, swiss, smoked cheddar and muenster. We like them all. If any sort of rind is present on the cheese, cut it off first.)
  • 1 1/2 C milk
  • 2 Tbs butter
  • 3 Tbs flour
  • 1/4 tsp nutmeg
  • 2 tsp minced garlic (if you’re using a milder cheese)
  • Dippers, which include bite sized chunks of: apples, baby carrots, celery, broccoli, cauliflower, toasted day-old bread, grape-sized tomatoes, etc.

For an electric fondue pot, the recipe can be made in the pot. For a fondue pot with a fuel burner, make it on a stovetop first, then transfer to fondue pot.

Prep all ingredients before starting, since mixture has to be stirred constantly.

Melt butter over medium heat, or 200 degrees in electric fondue pot. Mix 1 Tbs flour with grated cheese. Add remaining 2 Tbs flour to melted butter, and stir until smooth. Slowly add small portions of milk, stirring constantly, until all milk is added and begins to thicken slightly, taking care not to allow mixture to boil. Stir in a handful of cheese until melted. Add additional handfuls of cheese one at a time, melting the first before adding the next while continuing to stir continuously.

When all cheese is melted, add nutmeg and garlic (if desired), stirring gently to mix.

Dip bite-sized fruits, vegetables, and bread chunks into cheese mixture and enjoy!

If you are a little more adventurous, check out this website. They have some great fondue recipes, including alcohol-free!

My Favorite Cut-Up

Pampered Chef’s Crinkle Cutter is awesome. It can power through vegetables and cheeses, and even leaves a decorative edge that is kinda cute, but I love it for cutting serving size pieces of pizza or lasagna. The handle allows you to put more leverage on the blade, cutting through even tough crusts. This cutter has some muscle . . . or allows me to use mine!

Speaking of pizza, have I mentioned that we love it? But we especially love unusual pizza combinations, like this:

Mexican Pizza

  • 1 pizza crust, prepared (either the dried pizza crust packets, or the canned refrigerator pizza crust)
  • 1 1/2 cup cooked chicken, shredded or chopped
  • ½ tsp ground cumin
  • 1/4 tsp garlic salt
  • 8 oz can tomato sauce
  • 1 can diced Rotel, drained
  • ¼ c finely chopped onion
  • 8 oz can corn, drained
  • 1 C  shredded Mexi blend cheese

Preheat oven to 400o. Spread pizza crust dough on pizza pan. Bake for 10 minutes. Remove from oven.

Toss shredded chicken with cumin and garlic salt; heat in microwave for 2 minutes. Combine tomato sauce and diced tomatoes. Spread evenly on crust. Spread corn, onion and chicken and sprinkle on pizzas. Sprinkle on pizzas. Place in oven for 10-15 minutes until cheese is melted. Let pizza cool for several minutes until cheese is set. Cut slices with the Crinkle Cutter!

Thanks for shopping our Online Pampered Chef Party! Remember, the party closes November 30th!

Thanksgiving Mini-Pies

For Thanksgiving dessert, we had mini-pies — lemon and apple. I saw this idea on Pinterest, and had to give it a try. Cute and easy!

The only ingredients really necessary are canned refrigerator biscuits and pie filling. In fact, for the lemon pie, that was all we used.

Pull each biscuit in half (easier with flaky biscuits) so that you have two thin biscuits. Roll them out on a floured surface, then press inside a sprayed muffin pan. The roller that Ken is using in the picture is the Pampered Chef Baker’s Roller. It’s great for rolling out biscuits, crescent dough, and even pizza crusts.

Spoon with a generous amount of pie filling. I used the Food Chopper to chop the apple pieces in the pie filling into small chunks.

For the apple pie, we made a streusel crumble on top with equal parts brown sugar and flour, and a few tablespoons of butter mixed together. For the lemon, we skipped meringue (because I don’t really like it).

Bake for 15 minutes, or until crust is golden. Enjoy topped with whipped cream or a scoop of ice cream! I know we have!


A Jewett Traditional Thanksgiving

Thanksgiving holds a special place in our hearts. Sixteen years ago, on Thanksgiving day, Ken and I had our first date. Our first meal together was Thanksgiving dinner, cooked by myself and eating late at night because of Ken’s arrival time. He had flown down to the United States to celebrate American Thanksgiving, and we had a great weekend together, experiencing many of the holiday traditions in Indiana.

With our family being at least 3 days drive away, Thanksgiving has most often been a holiday shared by the two of us — an anniversary of sorts.

For years, I cooked a turkey, made stuffing, glazed carrots, baked potatoes, green bean casserole, cranberries, rolls, pumpkin pie — all of the traditional Thanksgiving day dishes.

Then one year we happened to find that Cracker Barrel serves Thanksgiving dinner at a very reasonable price. We spent a few years eating at Cracker Barrel, and then even tried their Thanksgiving dinners to go.

When I found I was allergic to corn, potatoes, and carrots, the Cracker Barrel Thanksgiving dinner had to go. In fact, much of traditional Thanksgiving had to go.

That’s when we realized: if it’s just the two of us, why do we let cultural expectations determine what we eat anyway?

We began to rethink how we celebrated Thanksgiving.

If the traditional side dishes of Thanksgiving are out, who needs turkey? Our favorite celebratory meat is steak!

So for the past few years, we’ve eaten steak on Thanksgiving, along with our favorite sides, now that I’m not allergic to them anymore. Yesterday we added glazed carrots, green bean casserole, and blue cheese mashed potatoes. And dessert? I’ll tell you tomorrow!

Blue cheese mashed potatoes? YES. And they are delicious. They were inspired by the Blue Cheese Au Gratin potatoes from Old Hickory Steakhouse, but a whole lot less time intensive to make. They are a perfect side to a nice steak. Or even a not-so-nice steak!

Blue Cheese Mashed Potatoes

  • 6 small or 4 large potatoes, peeled and quartered
  • 1/2 Cup heavy cream, or milk
  • 4 tbs butter
  • 4 oz. blue cheese, crumbled
  • Salt and pepper to taste

Bring water to boil in large pot and add prepared potatoes. Boil until fork tender. While potatoes are cooking, melt together heavy cream, butter, and blue cheese. Drain cooked potatoes and place in large bowl, pour cheese mixture over potatoes and mash together. Salt and pepper to taste.

To mash potatoes, I use a combination of a fork and a brief mix with a hand mixer (so they don’t become pasty), but what would be even better to use (if I had one) would be the Nylon Masher! I have other Pampered Chef Nylon tools and they are so much more durable than other plastic tools I’ve owned. And for only $6.50, it’s a great price!


Don’t forget, there’s just a few days left to join our Online Pampered Chef Party! The party closes November 30th!

A Fresh Take on Pizza

It took a while for the concept of the Food Chopper to grow on me, and now I can’t imagine not having one. I bought one around 5 years ago because everyone always remarked that the Food Chopper was their favorite Pampered Chef product. In fact the Food Chopper is Pampered Chef’s most popular kitchen tool.

The Food Chopper makes quick work of chopping cooked meats, veggies (especially onions!), and nuts (back in the olden days when I could eat them). There are lots of soup recipes that require chopped this and that, and since I often cook soups in the slow cooker all day, I need to prep the ingredients quickly in the morning. The blades rotate each time the plunger is struck, so you don’t have to continuously rotate it to get even cuts. It also disassembles and washes in the dishwasher well — much better than a food processor.

Here’s my favorite Food-Chopper-related recipe:

Primavera Pizza

  • 1 package pizza dough, prepared (I use the kind that comes dry in an envelope for less than $1)
  • 2 tsp olive oil
  • 2 T grated Parmesan
  • ½ tsp garlic salt
  • 1/4 tsp dried basil (or fresh chopped if you have it!)
  • 1/4 tsp dried oregano
  • 3 Tbs Ranch dressing (reduced fat is fine)
  • 2 C chopped cooked chicken
  • 1/4 C chopped red onion
  • 1/4 C chopped green bell pepper
  • 1 c chopped fresh baby spinach
  • 8 oz shredded mozzarella

On a sprayed cookie sheet,  spread to edges to form round shape. Lightly brush dough with olive oil. Spread parmesan, basil, and garlic salt over each crust. Bake crust alone for 10 min @ 400. Remove from oven. Spread Ranch dressing on each crust. Layer chicken, bell pepper, onion, spinach, and cheese. Bake 9-12 more minutes or until cheese is melted and browned around the edges.

Lots of tasty vegetables in this surprisingly fresh pizza! And the Food Chopper makes it so much easier to prep! And if you buy one, it will help us with our adoption! Thanks for participating in our online Pampered Chef Party!

The Greatest Thing Since Sliced Eggs

One of my favorite Pampered Chef products is their Egg Slicer Plus, but not just because it slices eggs.

I love it for slicing strawberries! It can power through a quart of strawberries in minutes for yummy strawberry shortcake.  In fact paired with the Core and More to remove the strawberry stems, and it’s even faster!  But in the wintertime, I still get plenty of use of it slicing mushrooms.

I was never a huge fan of mushrooms until I started cooking with fresh mushrooms, especially portabello mushrooms.

This is one of my favorite mushroom recipes:

Balsamic Chicken and Mushrooms

  • 2 Tbs olive oil
  • ¼ C balsamic vinegar
  • 1 Tbs Dijon mustard
  • 1 Tbs minced garlic
  • 3 boneless chicken breasts, cut into 1 inch cubes
  • 8 oz mushrooms freshly sliced
  • ½ C chicken broth
  • ¼ tsp dried thyme
  • (Prepared rice, enough for family)

Mix vinegar, mustard, & garlic. Coat chicken with mixture. (Let marinade if you have time.) In a large sauce pan, sauté chicken in olive oil over med heat until done. Remove chicken; keep warm. Sauté mushrooms in same pan for 2 min. Add broth & thyme, scraping bottom of pan; cook mushrooms until browned.   Place chicken on steamed rice. Pour mushroom sauce over chicken.

The Egg Slicer Plus would make a great stocking stuffer or gift for yourself! And a portion of the proceeds helps with our adoption expenses! Thanks for participating in our online Pampered Chef Party!